Friday, March 28, 2014

The Kythera Dress

Introducing my second dress! And it's my first self drafted "pattern"! Sorry for all the pictures in this post: Friends, try not to think I'm vain :)

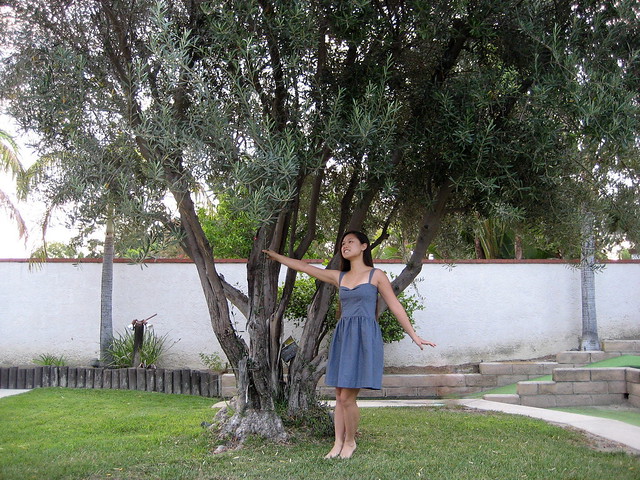
I'm calling it the Kythera dress because all the little squiggly lines and dots remind me of waves and islands of the Aegean Sea. Of course, I had to do my photo shoot in front of an olive tree to complete the Greek theme!
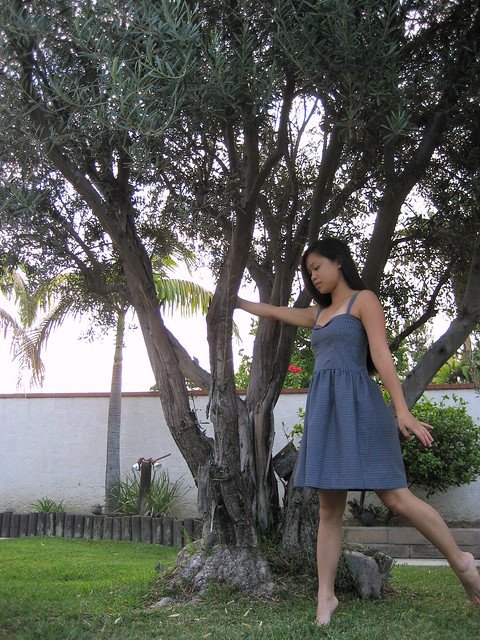
IMG_4944

It's a fitted bodice with 2 side bust darts (is that even the word for those horizontal ones under your arms?), 2 waistline bust darts, center back zip, folded neckline, and a full gathered skirt.
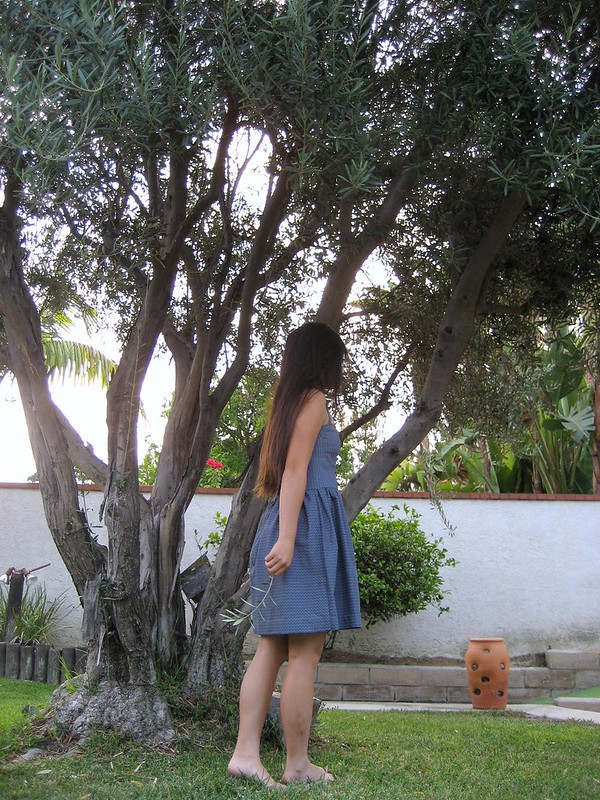
IMG_4966

Here's the story. I had literally two scraps of this fabric, originally intended as a pillowcase project I think. One larger piece that I'm guessing was about a yard's worth and another much smaller strip about a quarter of a yard.

I knew from my first dress that 1.5 yards was barely enough for a proper bodice, so I improvised by draping the smaller piece over myself.  I figured I could just put in 4 bust darts like B5748 and call it good.

You can imagine that this is really hard to do without a dress form.  I literally wrapped it around myself right side in, pinned the center back closed, and then pinched out the fabric underneath my bust. And the whole time, I was just thinking to myself, "don't skewer your boob." Seriously, pins against your bare skin is a scary feeling. And they're all wobbly.

What I didn't realize until I had sewn in the side darts was that I needed side seams to hide the ends of the darts, and I had so little fabric I didn't want to take in any on the sides.  I ended up extending the darts to wrap around the back and make a cool little V into the center back at the waist.
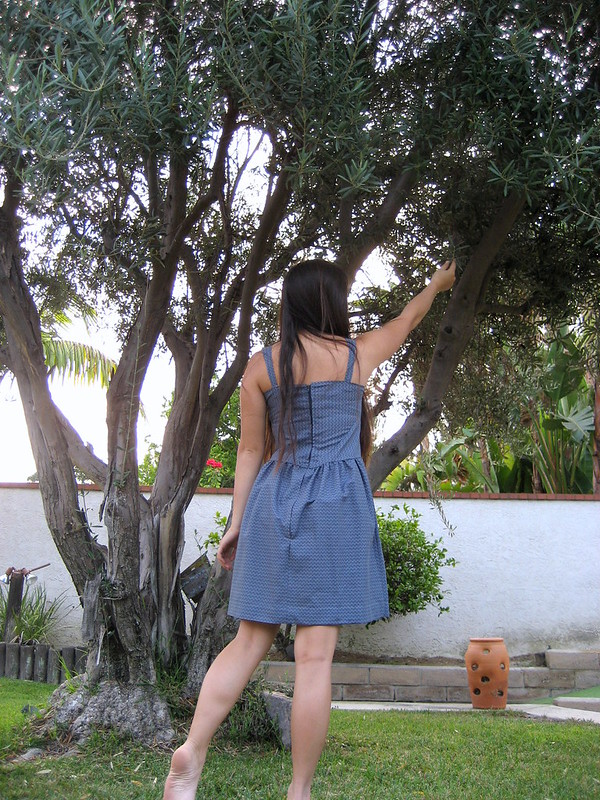
IMG_4957

Details, details.. So much catch-stitching on this dress. I turned down the top edge and catch-stitched it so it wouldn't be so obvious, and of course, I also catch-stitched the hem.  It's so beautiful and even because of the uniformity of the pattern :)

I also put in a kind of accordion fold in the neckline in order to give it a faux-sweetheart shape.  I hand tacked the point of the fold down and just let the rest of the fold do whatever.  It kind of just eases itself back to the flat neckline about where the side darts meet the neckline.

And this is literally like the first dress where I don't get gaping neckline, yay! I can bend over and people won't be able to see my bra, plus the tightness of the bodice actually helps the strapless bra stay up! Double win!
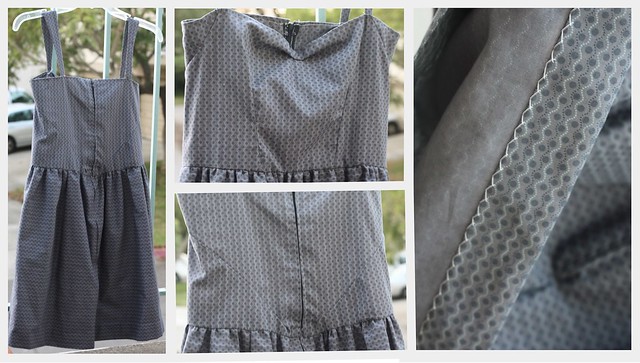
Kythera details

I think these detail shots show the truer color of the fabric; it's more grey than blue. I love the muted colors, it doesn't quite say "look at me!" the same way my other dress does :)

And one more fun touch, I made the straps slightly wider at my shoulders (inspired by, of all things, the style of Hollister tank tops) so it sort of looks like an elongated pointed oval just so the straps were not boring straight tubes.  (Fun fact: I just looked up pointed oval because I couldn't think of what else to call that Venn Diagram intersection shape; it's called a vesica piscis or fish bladder!)
IMG_4938

Summary
Pattern:  Self-drafted! Trying my hand at this for the first time! (And only maybe because I didn't think I could fit any pattern I had onto the amount of fabric I had.)
Fabric:  Maybe about 1 and a quarter yards of cotton
Notions: 18" navy zipper scored at an estate sale!
Techniques used: Hand picked zipper again! So much catch-stitching! Machine gathering (I hand basted and gathered my last skirt)!
Will you make it again?  Eh, probably not, it's a fairly distinctive looking silhouette, plus my design makes it too tight in the bodice and it pulls funny in the back, so the style lines are not quite right.
Final comments: Ok, even though it's a bit tight, and the straps are set a little wide so that they always fall off my sloping shoulders, I love it! I wore it to the last 3 parties I went to, and of course, it helps that I get to modestly say that I made and designed it myself :) I have learned that I need to wear a slip with it if I'm wearing tights because the cotton likes to stick to my tights. Oh, and it's cotton, so I don't feel bad about wadding it up and putting it through the washer and dryer like some kind of heathen.

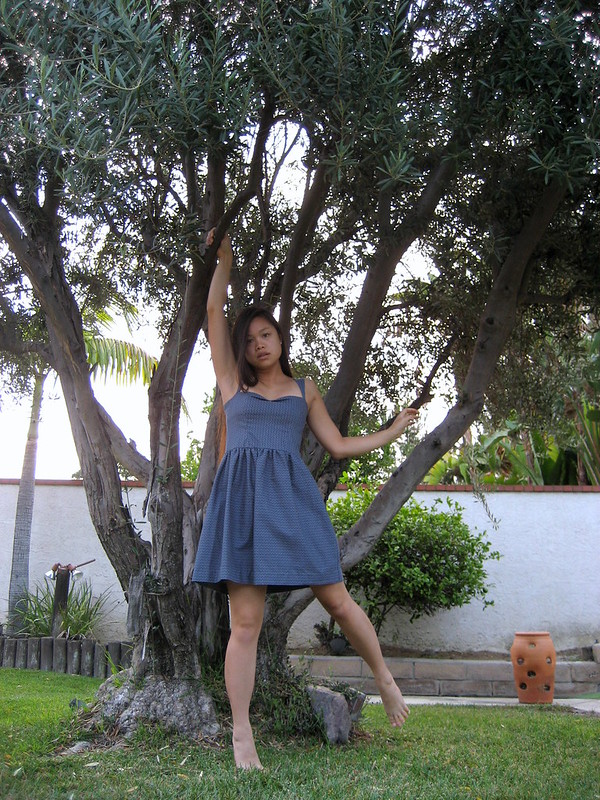
And just for fun, I'll leave you with this picture. I really debated about including this because of my extremely derpy face. But that's sewing blogger life, right? Like a million pictures of yourself with a stupid face just so you can get one good picture of your pretty new dress :) (I'm pretty sure I had just tried to climb up into the tree)  Aaand, I got up at 6am to take these pictures because I wanted the light to be soft, and so no one would ask me any questions about what the hell I'm doing.
IMG_4946

Tell me, do you have any self-portrait outtakes that you actually ended up really liking?

Wednesday, March 12, 2014

Star Wars Laptop Sleeve!

Ok, so this actually started out with an idea that I had after having lunch with my friend.  She mentioned that she hadn't been taking her new laptop to classes because it was bigger than her previous case.  Bingo! Perfect handmade gift for her birthday -- or if my track record with timely gift giving is any indication, more like for the holidays!

I figured, in my head, that I might try a basic zipper pouch tutorial, of which there are a million on craftgawker.  Or at least I would try and cobble something together from a few different tutorials. And then, lo and behold, my past-self rewards my current-self after a casual perusal of my bookmarks folder (yes, yes, so sue me, I probably could better manage these things using Pinterest). This design*sponge tutorial!  Woo! Exactly what I wanted :) Mostly because I love the idea of the wrap-around zipper so it's not so ... over-sized clutch looking?

The lovely case from the Design*Sponge tutorial! Admittedly, I don't love plaid (but just about everyone else in the world does), but I love that cool metal zipper and contrast lining.


DPP_0296
Materials:
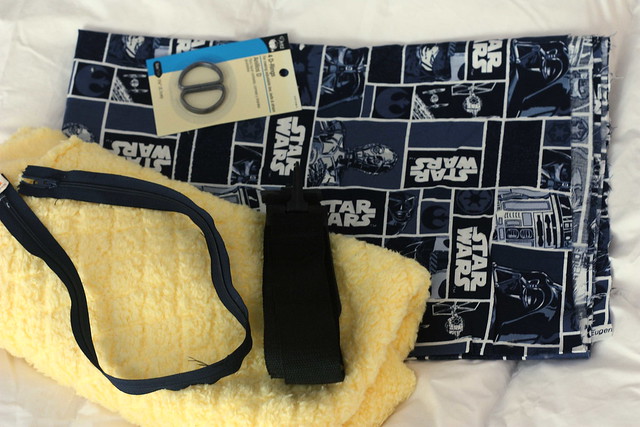
-I bought a half-yard of this luscious soft and fluffy fleecy stuff at Joann's in this beautiful buttery yellow.  Can you tell I love this stuff? It's pretty damn expensive (at least to me) for a fleece, but if you can catch it at full price and then use a 50% off coupon, I would love to buy 2.5-3 yards and back a yummy lap/couch blanket with this.  Anyways, the tutorial suggests that you need a half yard of the inner material, but really, you could probably do with a quarter yard or less since you buy the fabric on the fold (if that makes sense? You only need a maximum of a half yard of single fold fabric).  But bonus! Now I have a little leftover, what should I make with it?
-Plus, I totally scored on the Star Wars fabric, since there was just under a yard left on the bolt, so I got it half off! Joann's actually had a small selection of different kinds of Star Wars fabrics, 3 or 4 different prints I think, but I liked this one the best because of the graphic geometric look of it.  I also saw some other great nerdy prints... :)
-I also bought some metal D-rings because I kind of wanted to make this a wearable laptop case, if I could swing it, instead of something you put inside your backpack or work tote because I assume that's what my friend's problem was in the first place.
-Long zipper, probably a 22" one, I fortunately had this navy blue one that I bought at an estate sale. 
-And to top it all off, a salvaged luggage strap for carrying. I almost bought some webbing and notions while at Joann's, but I figured I had enough junk lying around at home that I must have at least one spare strap from some bygone luggage.

laptopcase2

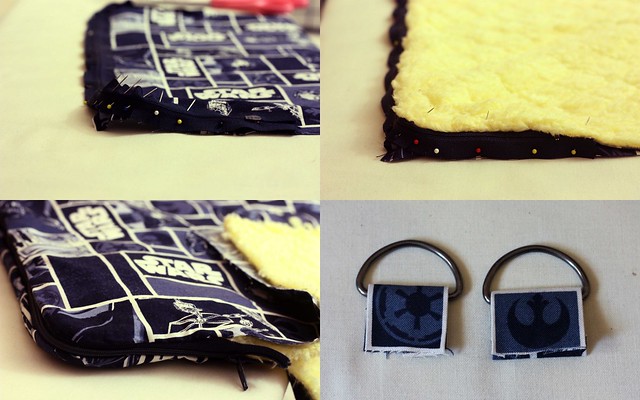
Look at my corners! So neat and clean! And check out those cheeky little tab holders for my D-rings.  I had to hunt carefully to find and cut out the faction symbols....and then re-cut them because I forgot to give myself a seam allowance.

It was super easy to follow this tutorial since there were some really detailed process shots.  The only part where I got kind of confused was where the bottom part was sewn up to meet the zipper seams.  I couldn't really get the foot to go over the zipper bulk, so I ended up ladder stitching the rest of it.

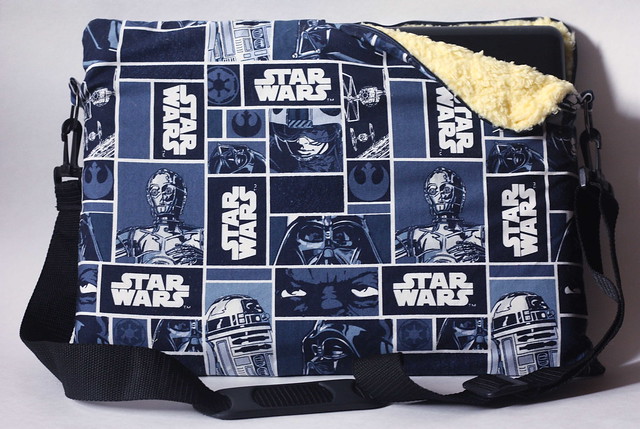
Sorry to make you go through all that introduction, but ta-da! The finished product!

DPP_0303

I'm really very pleased with myself for making this! I think it looks really nice, no extremely obvious mistakes  :)

After making this and then letting it sit for a while, I decided to make a few changes:

1. Nix the D-rings and the strap and just leave it as a fun little case protector.  The tabs were too flimsy to really do a good job, I think it would have worked a lot better with webbing underneath the tab, and probably also a slightly different design with the webbing wrapped around the bottom to give it strength.

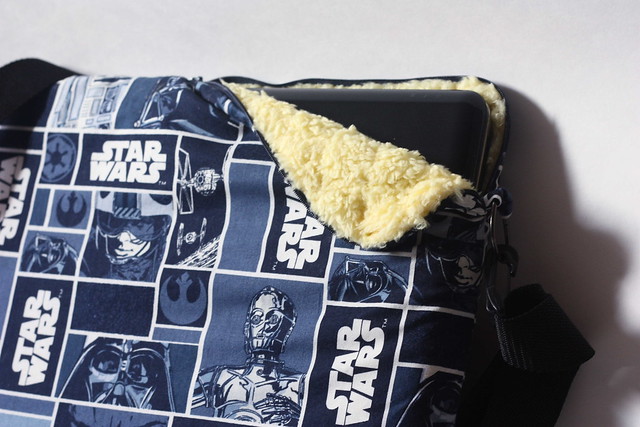
2. Give the fleece a haircut near the zipper. Can you see all that fluff near the teeth? The zipper kept catching as I was testing it out, so I just took my scissors and trimmed it down.  It wasn't too difficult, I just had to be careful to not cut a hole in my lining.

DPP_0302

I really hope my friend likes it and uses it!  I always worry that I end up making really weird things that people won't actually use.