I always give embroidered baby blankets to people, and I always used to do stuffed animals (Atlas, Avery, and Ronan), but babies do not appreciate those and tiny clothes are just so cute! Aren't I the best coworker ever??
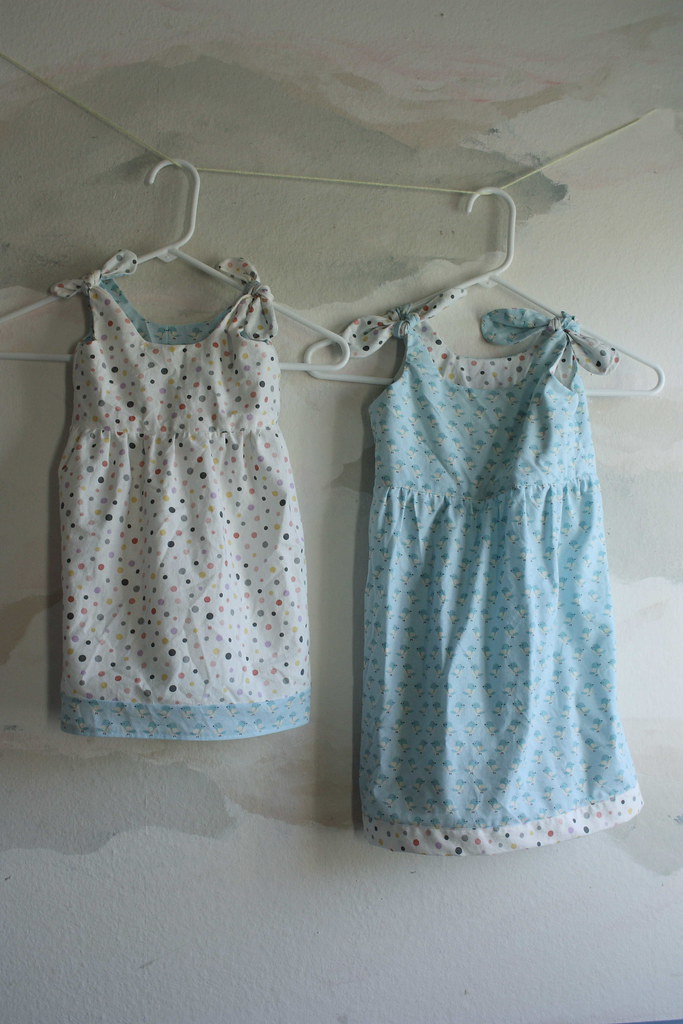
My coworker had her second baby at the very end of September last year, and I finally got around to getting a blanket and dress made for her. I wanted to do some cute matchy-matchy sister dresses for her older daughter, Avery, and for the baby, Allison.
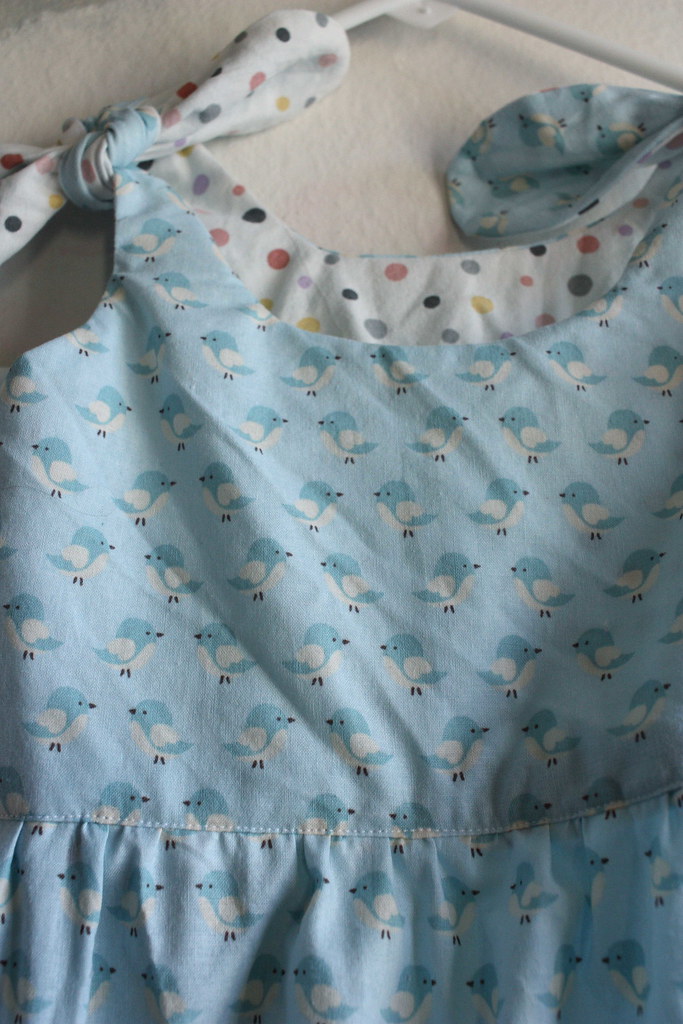
I used this adorable (and free!) pattern from Made by Rae and the associated 3T toddler enlargement.
I did not adjust the 3T at all and made it straight from the pattern, however; for the baby dress, I did enlarge the pattern so I'm guessing it may be around the 6-9 mo. mark?
I used a yard of each fabric but I did have to seam two of the lining pieces in the smaller dress in order to get everything cut out, and the skirt on the bigger dress is not as big as written in the instructions. Side note: I was originally going to make each dress with self fabric for the lining and bought some other fabric for one of these, but I loved it so much, I swiped it for myself and substituted this dotty cream colored cotton I already had. Then I had the brilliant idea to mix up the patterns for two matching dresses since the cream and birdies went together so well. I love when these kinds of things come together without planning :)

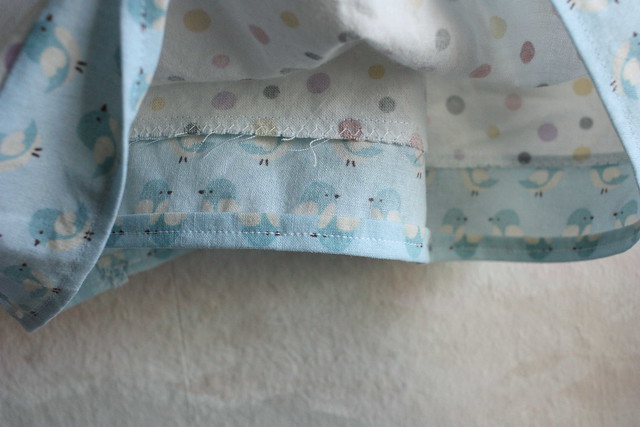
You can see here that I had to seam the lining piece, and since I made the 3T size out of the birdies, only one of the lining pieces has birds. The other is the dots again.
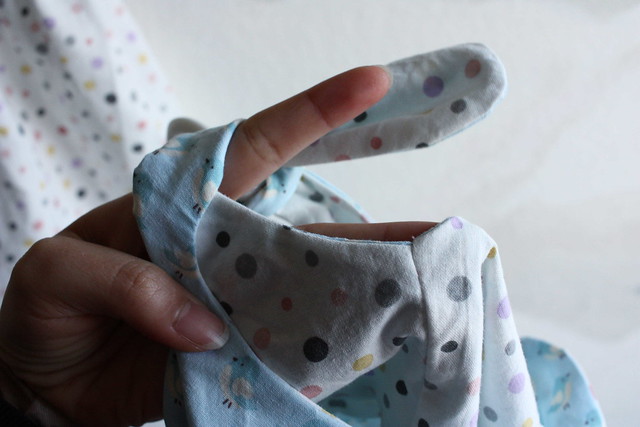
I did not use piping at the waist because I was trying to keep my cost per project low, and I didn't want to buy (or sew in) any piping. I ended up having to top stitch the waist to tack down the lining.
Inside shot of the lining enclosing the waist seam. I actually shot some more pictures detailing how I constructed this type of dress from start to finish which I will share next time!

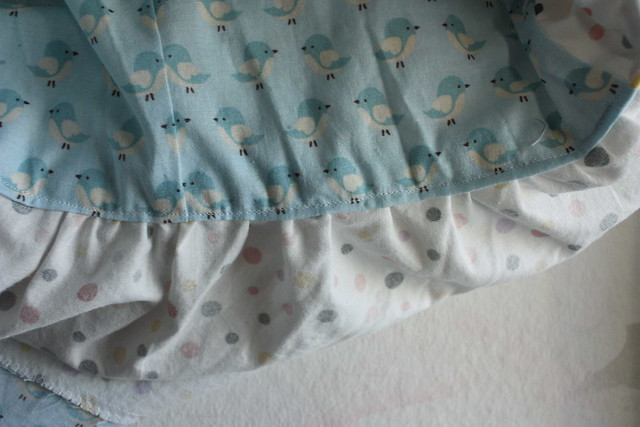
Approximately 10 inches is a fine length for the smaller skirt, and there is an extra ~1.5 inches from the band. I probably cut this one a little too long.
I cut a 3 inch piece for the contrasting hem, but I failed to think about how the bird placement would be when I folded it in half, so I had to get creative about what I was going to do. I ended up doing the fold over twice hem for the bottom, and then zig-zagging the raw edges so I could keep two rows of birds on the outside.
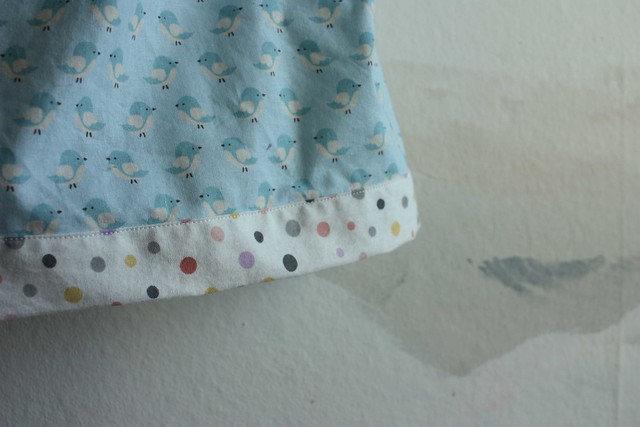
This is how I actually intended this band to be attached. Brief summary of the process: Match edges RS together, sew a 1/4" seam, flip and press, fold under slightly more than half so the edge will be caught by another row of stitching and press, and top stitch close to the edge.

And here's the inside, you can see I used the selvage to avoid having to do another double hem. But hopefully this makes the above instructions make more sense, and you can see that all the raw edges are enclosed.

I clean finished the armholes and side seams! The instructions that come with the dress don't really say much about this part, but I like a clean finish, and it was easy. Again, more photos on the process next time!
Clean inside and out on both dresses :) I like to enclose raw seams as much as possible without having to resort to zig-zagging all the edges. I mean, what's the point of having a full lining otherwise?
Whew! That was a lot to say about these baby dresses, but I just love them so much! And they're so easy to make, the second one only took me 2 hours to make, and I am definitely getting faster. No closures and mostly straight lines makes the whole thing so simple, and it doesn't make me feel too bad when the babies inevitably grow out of it in a few months.
Anyone else being inundated with babies? And don't you just love all the tiny adorable clothing options? (I promise I have zero baby fever, let me be your baby's cool aunt!)