Monday, May 9, 2011

I Can Haz Cheezburger?

A WIP finally finished! This has been half finished for the longest time because I couldn't get the proportions right. This ended up being about 2-3 inches in diameter, so more like a slider than a full sized cheeseburger. Originally, this started out from the Lion Brand Yarn pattern for the Jumbo Burger, but I didn't want to make a burger 8 inches across so I decided to miniaturize and make up the pattern as I went.

Everything I kind of eye balled to get it to look right, except the tomatoes. I used a Crochet Spot tutorial to get the nice spokes on the tomato slices. Except, in the end, it didn't matter since I sewed it together so tightly, but it was a nice detail if I had arranged the pieces differently.

The pattern is as follows: (hopefully everything turns out proportionally sized)
Gauge is not particularly important.  All the yarns I used were Red Heart Super Saver Solids in various colors.  G hook for everything.


Lettuce
Ch 6, join with sl st to form ring
Work 15 SC into ring
[Ch 2, sc next st] repeat x15
Ch 3
Work 5 DC into each “loop” (made by Ch2)
Join with sl st, fasten off
Bottom Bun (do not stuff)
Ch 2
6 sc in 2nd ch from hook
2 sc each st (12)
Back Loops Only: [2 sc, 1 sc next 1 st] repeat x6 (18)
Back Loops Only: [2 sc, 1 sc next 2 st] repeat x6 (24)
Back Loops Only: [2 sc, 1 sc next 3 st] repeat x6 (30)
Back Loops Only: [2 sc, 1 sc next 4 st] repeat x6 (36)
(Both loops) Sc each st around (36)
Front Loops Only: [sc2tog, 1 sc next 4 st] repeat x6 (30)
Back Loops Only: [sc2tog, 1 sc next 3 st] repeat x6 (24)
Back Loops Only: [sc2tog, 1 sc next 2 st] repeat x6 (18)
Back Loops Only: [sc2tog, 1 sc next 1 st] repeat x6 (12)
Back Loops Only: [sc2tog] repeat x6 (6)
Fasten off
Top Bun
Ch 2
6 sc in 2nd ch from hook
2 sc each st (12)
[2 sc, 1 sc next 1 st] repeat x6 (18)
Back Loops Only: [2 sc, 1 sc next 2 st] repeat x6 (24)
Back Loops Only: [2 sc, 1 sc next 3 st] repeat x6 (30)
Back Loops Only: [2 sc, 1 sc next 4 st] repeat x6 (36)
(Both loops) Sc each st around (36)
Front Loops Only: [sc2tog, 1 sc next 4 st] repeat x6 (30)
Back Loops Only: [sc2tog, 1 sc next 3 st] repeat x6 (24)
Back Loops Only: [sc2tog, 1 sc next 2 st] repeat x6 (18)
Stuff and Shape, embroider sesame seeds on top
Back Loops Only: [sc2tog, 1 sc next 1 st] repeat x6 (12)
Back Loops Only: [sc2tog] repeat x6 (6)
Fasten off
Meat patty
Ch 2
6 sc in 2nd ch from hook
2 sc each st (12)
Back Loops Only: [2 sc, 1 sc next 1 st] repeat x6 (18)
Back Loops Only: [2 sc, 1 sc next 2 st] repeat x6 (24)
Back Loops Only: [2 sc, 1 sc next 3 st] repeat x6 (30)
Back Loops Only: [2 sc, 1 sc next 4 st] repeat x6 (36)
(Both loops) Sc each st around (36)
Front Loops Only: [sc2tog, 1 sc next 4 st] repeat x6 (30)
Back Loops Only: [sc2tog, 1 sc next 3 st] repeat x6 (24)
Back Loops Only: [sc2tog, 1 sc next 2 st] repeat x6 (18)
Back Loops Only: [sc2tog, 1 sc next 1 st] repeat x6 (12)
Back Loops Only: [sc2tog] repeat x6 (6)
Fasten off
Tomatoes (make 2)
Fasten off
Cheese
A square. (Sorry, I didn't write this one out when I was making it, but use your best judgement for how large it should be.  It should be just big enough so that the edges hang out over the sides of the bun.)


And, just one more note, I understand Front loops (FLO) to be the ones closest to you when you push your hook through the yarn and Back loops (BLO) to be the ones farthest from you.  Leave a comment if that doesn't make sense.

Friday, May 6, 2011

Presented without comment.

I lied, I have just one teeny comment about this.

You know what's better than a really great timelapse video?

A really great timelapse video with beautifully epic music.

Watch it full screen with HD on.

Timelapse - The City Limits from Dominic on Vimeo.


via Fstoppers

Thursday, May 5, 2011

The Cake is a Lie.

Because I didn't get any cake on my birthday (:[ sad, right?), I've been wanting some cake lately. I guess I can just smell like cake all month long with this:

Woohoo for free birthday goodies! I got this totally free (no purchase necessary) at Sephora, I just had to sign up for their Beauty Insiders Club via email.

Coldstone Creamery will also give you a free ice cream on your birthday if you sign up for their birthday email club!

What other cool freebies do you take advantage of when your birthday rolls around every year?

Wednesday, May 4, 2011

May the Fourth be with you.

So, if you couldn't tell, it's unofficial Star Wars appreciation day.

Anyways, here's a few things related to this magnificent day.


Chewwie hates the snow. (video)

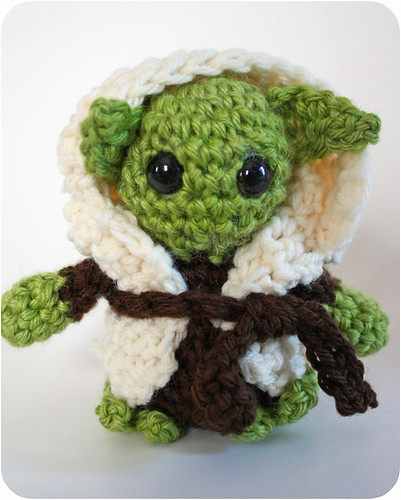
I added these to my queue as soon as I saw the picture. Now to find some spare time...

Photo and tutorial via Happy Together

And finally,

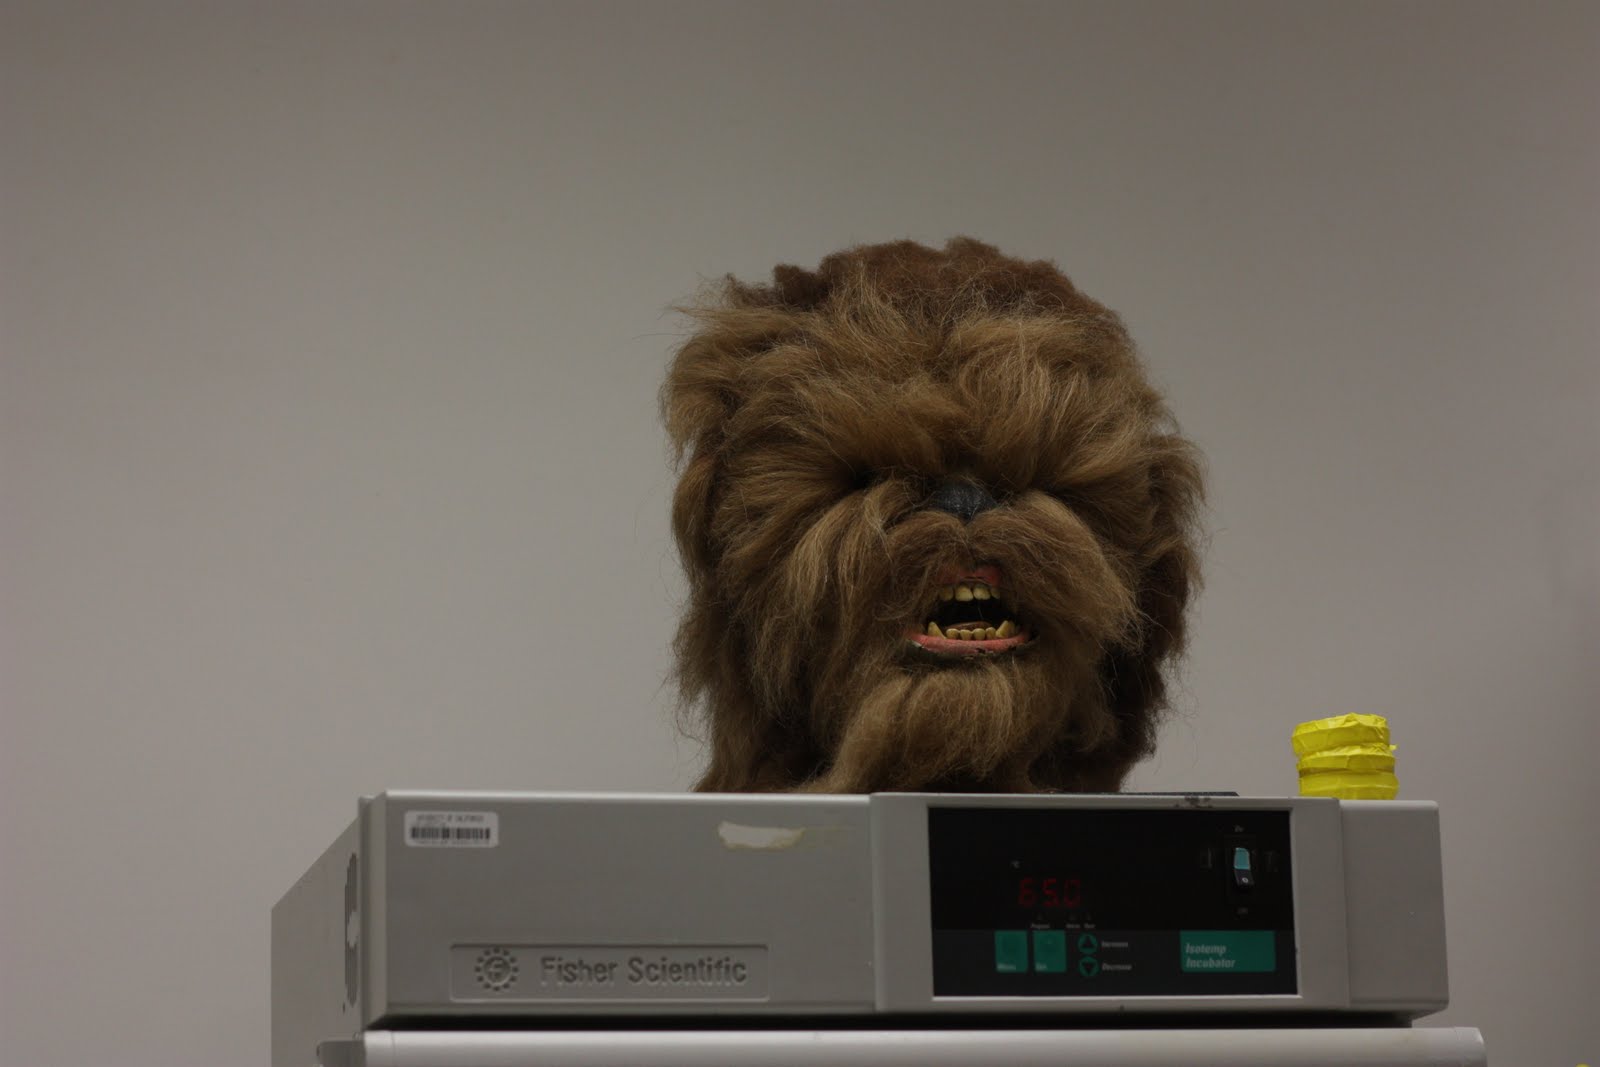
Looks like somebody in my lab has got a night job. Scientist by day, Chewwie impersonator by night?

Happy Star Wars day to all you geeks out there!

Saturday, April 23, 2011

They said I should be a professional

Well, only sort of. I have been mistaken before for the actual paid entertainment for a children's birthday party at which I was painting faces. It was only as a favor to my mom's coworker and I certainly wasn't paid. Another mom was under the impression that I had been hired and actually wanted to get my information about doing her son's birthday.

In any case, I usually volunteer to paint faces at a school carnival/concert that we have during Earth Day/Week. You get the usual hearts/stars/flowers requests and then you get this:


Actually, she wanted the giraffe and I decided to put the legs on her fingers.

I have also realized that I'm not really sure, off the top of my head, what Hello Kitty looks like.

Wednesday, April 20, 2011

Moar Kittehs

Meet Duke and Daisy.


I love meeting other people's kitties. These two are especially sweet, and Daisy (the tricolor) loves to suck on ears :3 It's especially funny when their owner wants to get their attention/back in the house or whatever, she shakes a little tupperware of chicken or turkey or fish and yells "Chicken!" Apparently, everything is chicken to them.

Monday, April 18, 2011

Further Experimentation in Papercrafts

It's been decided. I've become the designated thank-you-card-maker for my club. They all liked the last one so much, they decided I should make another for our speaker at the next meeting.

Now, I've always liked making my own greeting cards. I feel like handmade cards are such a nice touch. This probably stems from Girl Scout days when we had an actual Stampin' Up! party/demonstration as one of our troop meetings. Rubber stamps were the thing back then and I remember making thank you cards for all my teachers at the end of the school year. They were suitably impressed with my young crafting skills.

My crafting supplies are seriously limited with me living at school, so I make do with a few essential items. Some of the other stuff, like cardstock and paints, come from the college's art club supplies, of which I am the president :P But really, my X-acto knife is my best friend and one of the few crafting supplies I keep at my house here.

I was at a bit of a loss for inspiration when trying to make this card. I was rummaging through a box of art club supplies and found these card blanks with embossed flower pattern on the front. You could hardly tell it was embossed though. Good enough to start with, at least it wasn't from scratch. I cut out the flowers and stems with my knife, but left some spaces like between the flower and the stem to preserve some of the card's structural integrity since all of the cut out spaces were smack dab in the middle of the card. I cut out some white cardstock/art paper to fit the inside front panel (I miss my paper cutter! One of the few crafting tools I failed to bring here with me). Brushed on a nice peachy color behind the flowers and a green behind the stems, watered down for a paler color. The nice part about this is you don't have to be exact about where the color goes and so you don't get those icky "edge" lines in your painting, just a nice wash of color. I also took a fine tipped paintbrush and white paint and painted in the flower details (petal creases? stamens?) Finally, I faked my way through a calligraphy-looking "thanks" with the same fine tipped brush and white acrylic paint.

And there you have it. Not too shabby for a quick, thrown together kind of card. The cutting does get tedious though especially with the rounded shape of the petals.

And of course, I've got crafter's eye. I noticed all of the imperfections and didn't really want to give the card to the speaker because it didn't quite live up to my expectations of how I wanted it to turn out. I smudged the paint between the "a" and the "n" and there were weird glue stick residuals in random places and the cardstock wasn't the perfect size and the green wasn't dark enough in the end and I really botched up the name on the envelope (the handwriting, not the name!) and the list goes on. But it's all good.

The Details:
Pre-made card blank from Michael's
Dafont.com - Jellyka font


Lots of other WIPs to be finished soon and hopefully photographed before I send them off to be donated.