Beware: this is a very very long post. I have a lot to say, haha.
Let's have a look, starting with the biggest and baddest of them all:
The quilt.
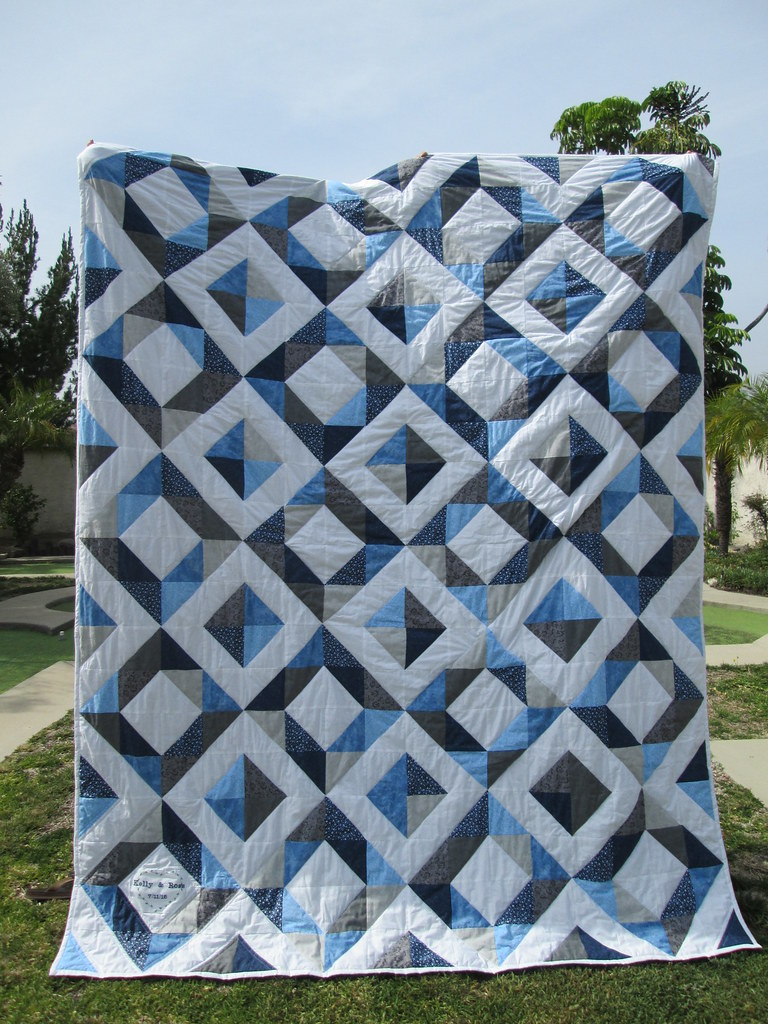
Oh, the quilt. This is the first quilt I have ever made! I'm apparently an ambitious idiot. I made a queen sized quilt for my first quilt and quilted it on a standard home machine. In the above picture my mom and sister are standing on extra tall bar stools with arms stretched way out above their heads and to the sides and the quilt is still touching the ground, that's a massive quilt!
It took me about 2 solid months to finish this quilt, but that includes a whole week of staying up into the wee hours sewing.
I found this quilt on Pinterest that She Can Quilt made, and I thought it was the perfect first quilt pattern especially since the bride requested blues (so vague). I ended up at JoAnn pulling out all the blue quilting cottons trying to find 12 different blues that go together. It was harder than you think. There's a whole wall of quilting cottons and yet somehow, they don't all mesh. I ended up with 7 different fabrics with grays thrown into the mix, plus 2 patterned whites.
I used Craftsy's Magic 8 method for making all the HSTs which made everything pretty quick.
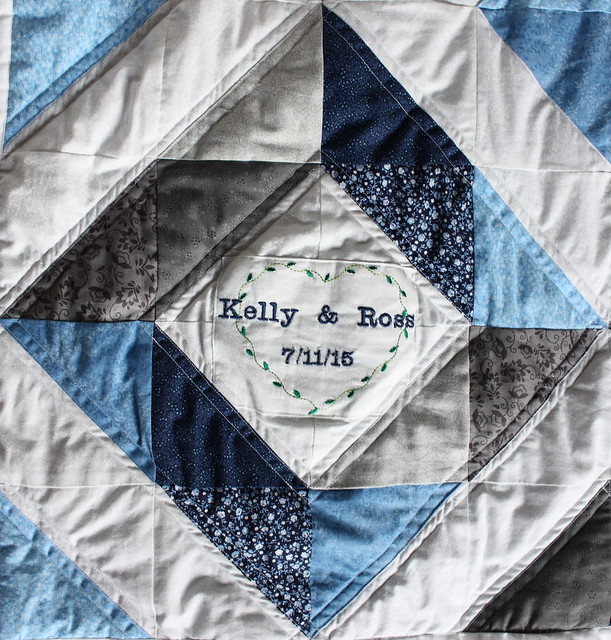
And to make it extra special, I added some machine embroidery with their names and their wedding date to the bottom left corner square. I'm lucky that my mom was able to do the machine embroidery for me on a piece of the white fabric and then I stitched it onto my quilt top instead of having the embroidery done directly onto the quilt top.
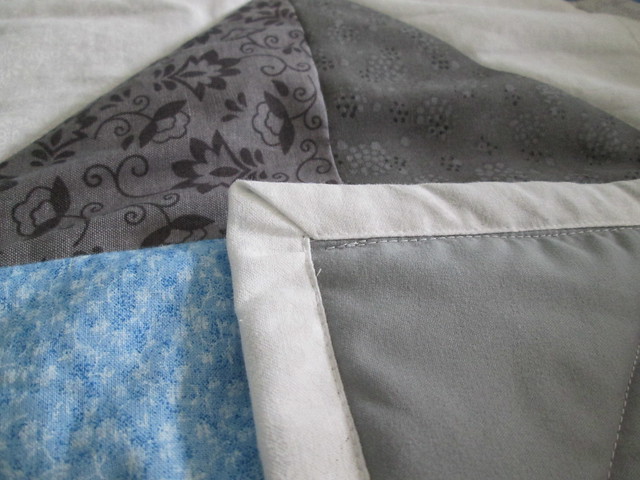
The mitered corners on the binding turned out pretty well using this tutorial from Merriment Design. I had made the strips in straight of grain but had ironed them like double fold bias tape. The white was left over from the quilt top, and I like the crisp finish it adds.
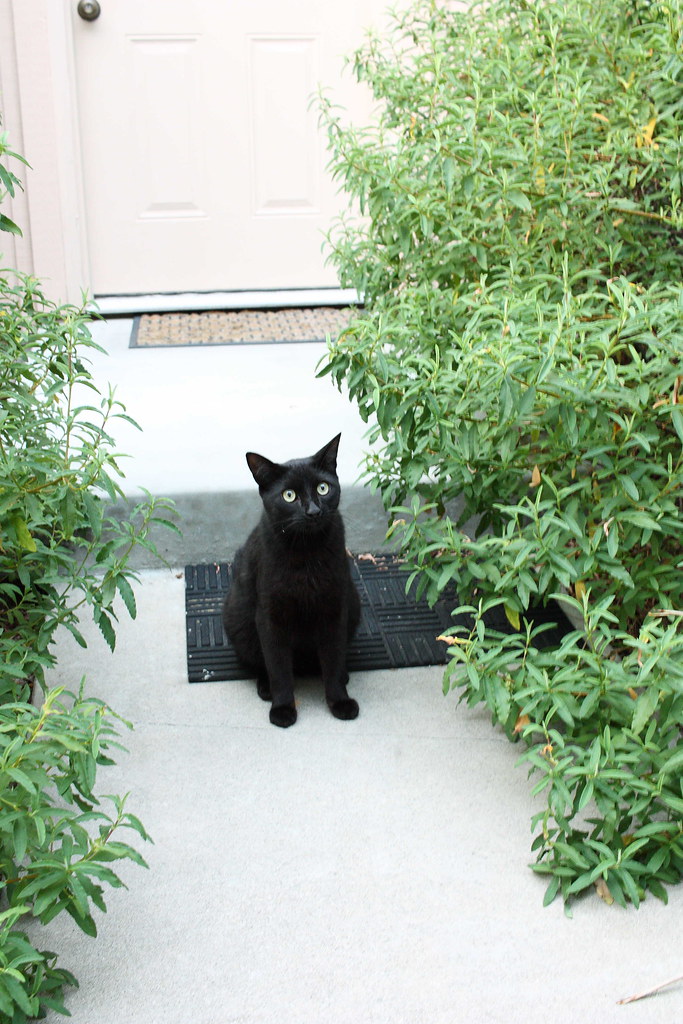
What's this? Adorable kitty cat sitting outside my door? Boyfriend and I were attempting to take pictures of the quilt in the walkway outside my house, and my favorite neighborhood cat was hanging around. While we were occupied taking pictures, kitty darted inside the slightly ajar door to the house, but she came back out when I went in there to see where she had gone. I wish I could keep her forever, she so so sweet :)
The piecing together of the quilt top went fairly smoothly, but when I got to the quilting, that's when I had a major meltdown.
I used a queen size microfiber sheet for the backing, but as you can see, I had major problems with it shifting and getting bunched up while I was quilting. I bought one of those precut queen sized batting rolls from JoAnn, but I didn't have any safety pins, so I pinned it with straight pins which was a huge mistake. Having to roll it up to fit under the arm of the machine meant I basically needed a chain suit to prevent from getting poked all the time. I quilted it like She Can Quilt did by following the outside of the squares in the depression block style. I tried to do three lines of quilting, too, but I only had time to do one line of quilting due to serious set backs from unpicking bad quilting. I wasted at least 2 spools of thread attempting to quilt this damn thing. I stayed up until at least 3 am every night the week before the bridal shower to finish this quilt, but I did get it done by the deadline.
I had to gift wrap the top and bottom of a copy paper box because it was the only thing big enough to contain this quilt. Now that I've gone to a bridal shower, I've become initiated in the cult of bridal shower etiquette, and so there was a massive amount of ribbon on the box.
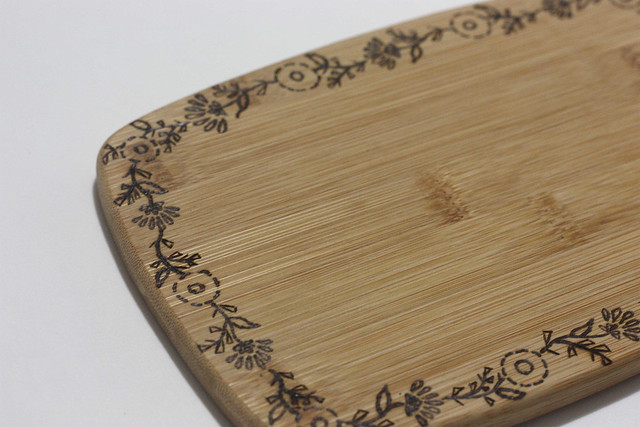
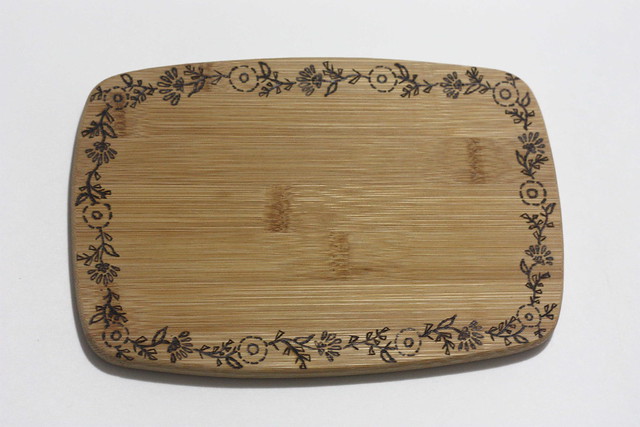
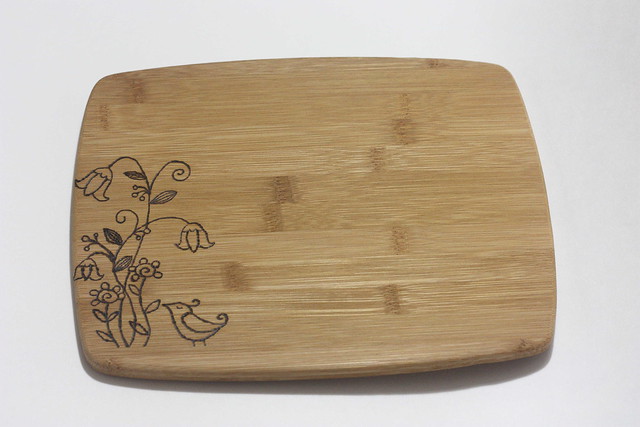
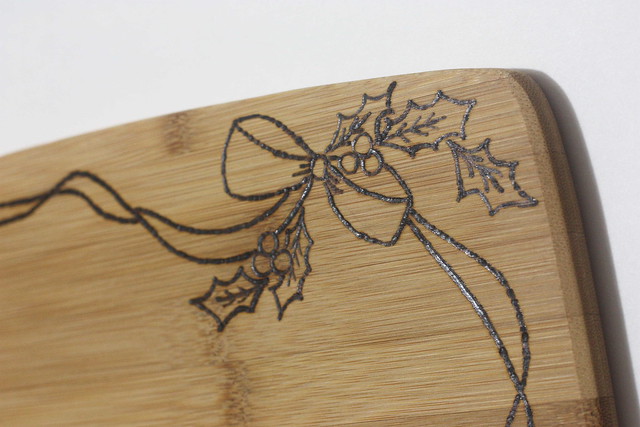
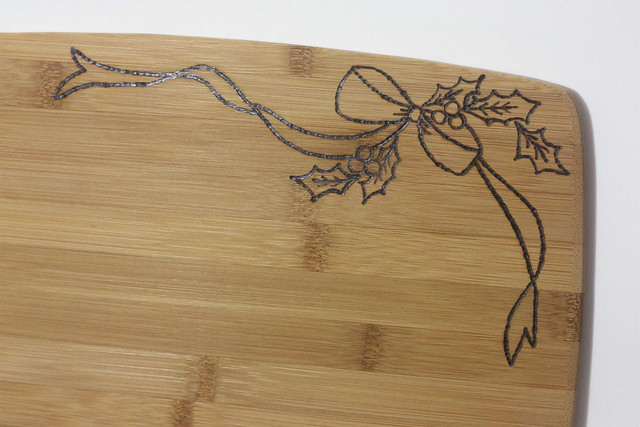
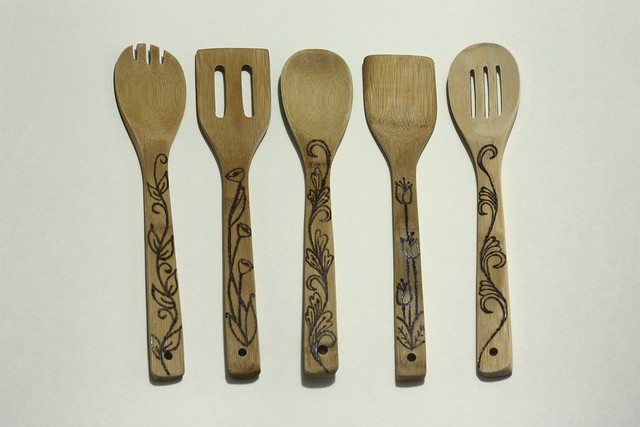
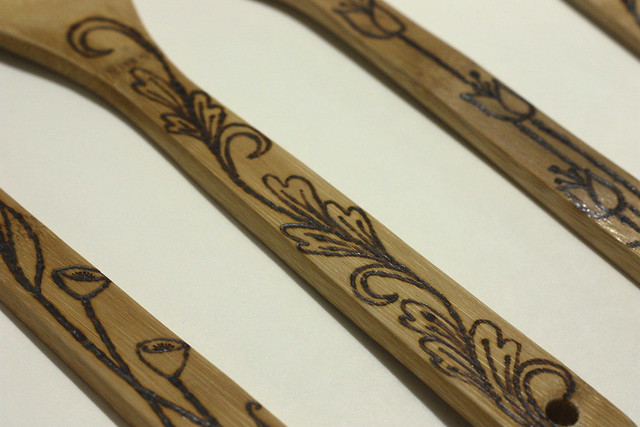
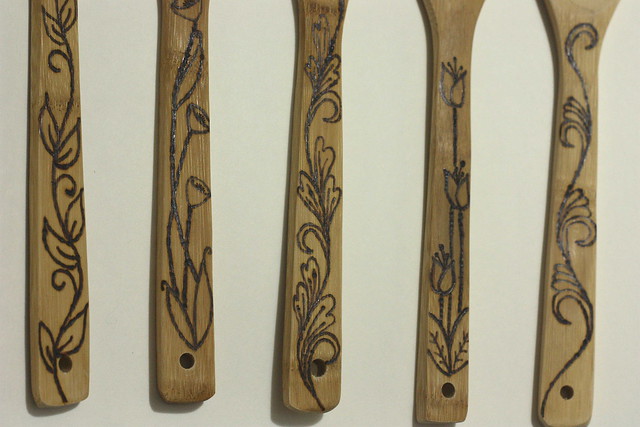
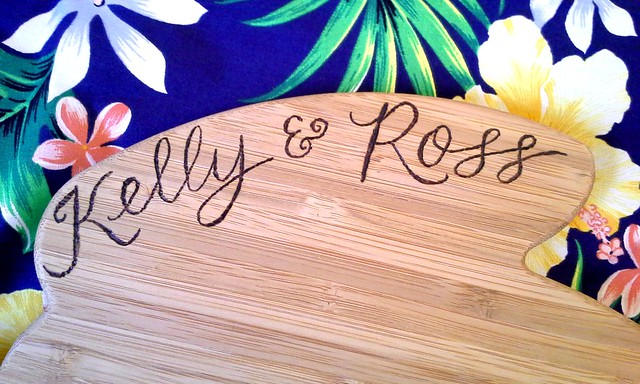
As an extra little something, I personalized this bamboo cutting board for the bridal shower too. My mom found this cute turtle shaped bamboo cutting board at TJMaxx I think, so I used my newest toy (the wood burning pen, see examples 1, 2) to add their names.
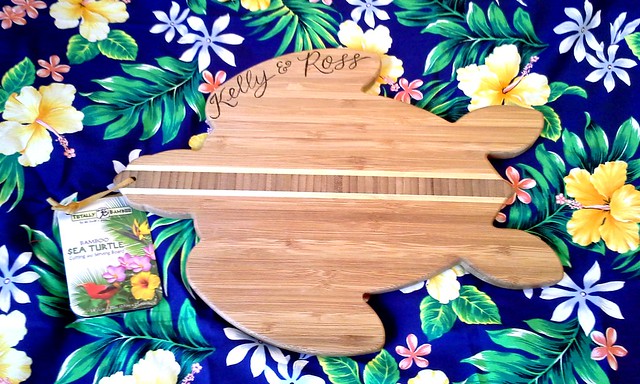
I practiced drawing out my letters in a few different ways, and then I used the calligraphy tip to burn the letters into the board. Bamboo is pretty tough to burn, but hopefully, it doesn't look too choppy.
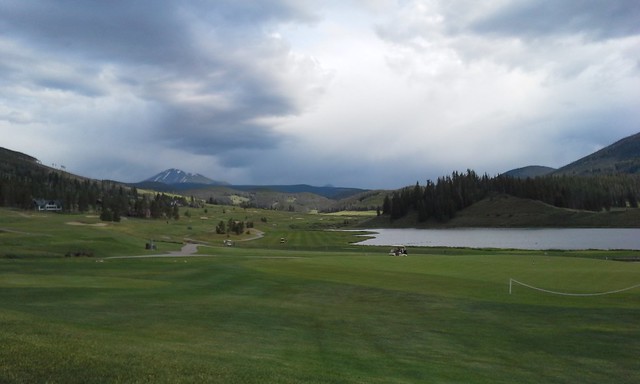
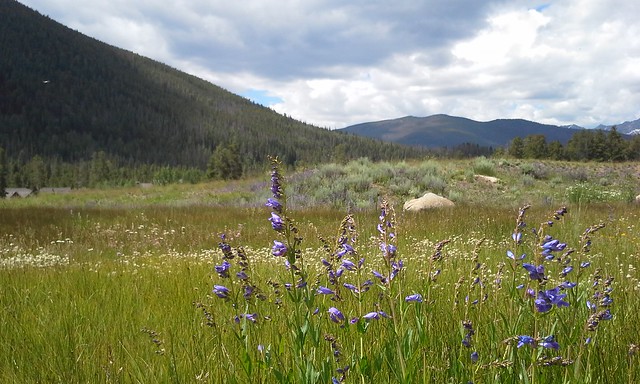
And here's just a couple of pictures from the picturesque wedding. This was the golf course/resort that the ceremony and reception were held at. The ceremony was set up just to the left of the shot (and my brother had to clean up the rose petals off the grass by hand after the ceremony was over :) haha) We were really high up in the mountains in Keystone, Colorado, about two hours west of Denver, probably about 10,000 ft elevation.
And we stayed in a really lovely condo just a short drive away from the venue. This was the view just outside the window. Kind of unreal!
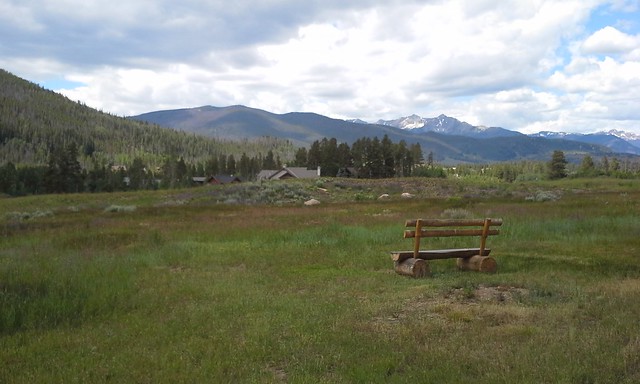
I just love that the flowers were blooming even in the middle of summer.
Lessons were learned in the making of my first quilt!
Namely,
1. Everything takes longer than you think. Especially because you have to give yourself time to mess up two or three times.
2. Taping down the back of the quilt and basting it all together with safety pins is a very good idea. Bad things happen when you don't.
3. Do not choose a queen size quilt for your first quilt. Just don't. Unless you happen to be very ambitious like I was.
4. Don't forget to buy fabric for the binding! Especially if you're not working off of a pattern that reminds you about this. Fortunately, I had enough leftover from the quilt top.
Obviously if you've made it this far through the blog post, I haven't lied to you about how difficult it was. Because it was. It was very very hard. I may have cried a few times. It was worth it though. In the end, I was very pleased with how the quilt turned out.
Since it was so time consuming though, I don't foresee too many more quilts in my future. Finally, a hobby I don't love ;) I keep telling people, "This is not a relaxing hobby!!"
If I've left anything out that you want to know about the construction, ask me! I've started to forget every little thing I wanted to mention here, but I'm happy to answer any questions! I'm also here for moral support should you decide to tackle quilting :)