
This particular bundle is for my coworker and his wife who just had their first baby girl, Claire!
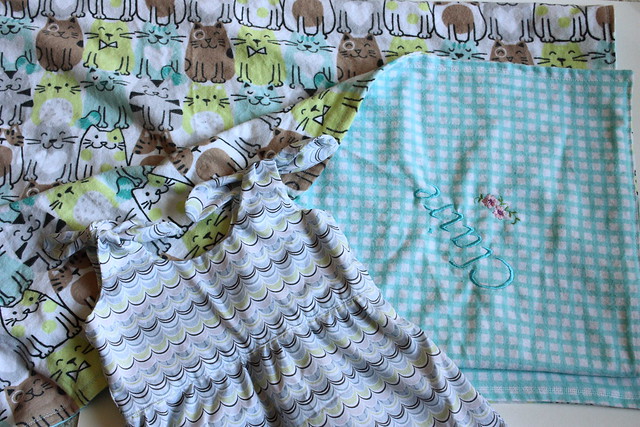
Can we talk about this flannel? How cute are those cats?? If it was remotely acceptable, I would literally own 100 simple flannel blankets with all the cute prints I keep coming across (I have, as of now, only one such blanket with adorable zebras on it that I totally swiped from my mom's stash, which was definitely earmarked for a baby.) This is a current(!) print that they are selling at JoAnn, so you can totally get some if your store has any left :)
The simple blanket is just two pieces of flannel (44" square) sewn right sides together and then flipped RS out and top stitched with a decorative stitch. I'm very fortunate to have access to my mom's fancy embroidery machine, and so I usually ask her to embroider the name of the new babe on one of the corners.
I did take step-by-step photos of putting the entire dress together from cutting to finishing (because I do love me a good hand holding photo tutorial), but I thought it might violate the spirit in which Rae shares this pattern, so I have just pulled out a couple of photos on my clean finished lining which is not covered in the original instructions.
So jumping into the middle of construction here...

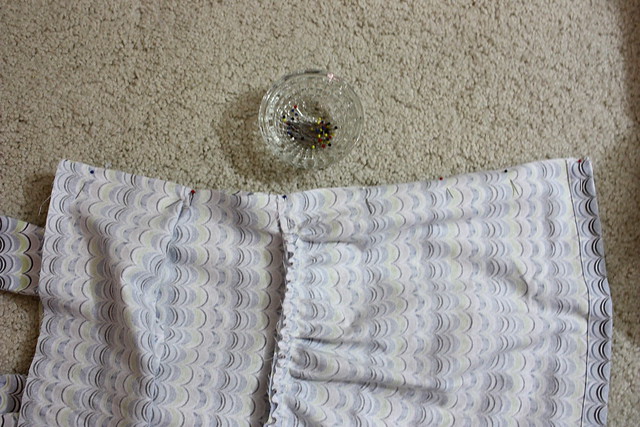
I'm at the point here where I have attached the two bodice pieces together on one side only and attached the whole skirt piece to the bodice (I only cut one super long skirt piece instead of two). I used my go-to tutorial for making that clean side seam which I'll show more of below.

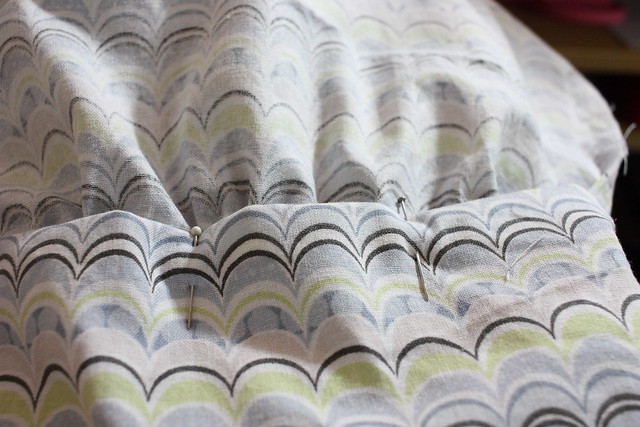
It's a little difficult to tell since I used the same fabric to line the bodice, but I have folded the dress right sides together and matched up the unsewn side seam.
And then flip up the lining and sew all the way down that seam (from left to right in my picture). I like to do it this way because then I only have to finish one side seam below where the bodice is joined to the skirt as opposed to doing this twice with two side seams if you cut two skirt pieces.
And the final step in my construction (because I don't use piping) is to fold under the lining and enclose the waist seam on the inside of the dress. Then, on the outside, top stitch near the edge of the waist seam taking care to catch this folded under lining on the inside.
Leave me a comment if you would like me to talk you through this in a little more detail (or if this is just plain confusing)! Happy sewing!